World at War: Blood and Bridges - Separation (Part III)
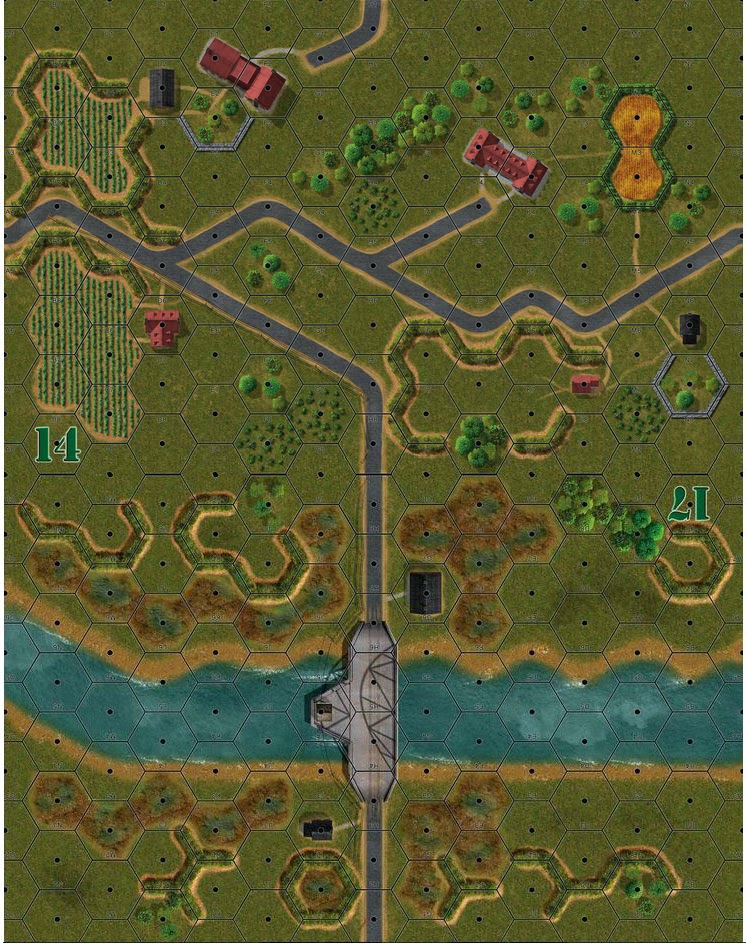
And... it's Turn 3. The Soviet player immediately pulls a Chaos chit and the result is Friendly Fire! The West German M48s on the hill accidentally open up on the infantry to the west but score no hits before a "blue on blue" warning comes over the radio.

The Soviet commander pulls an air strike! The Su-25 marker is pulled. The West German infantry try to destroy the Frogfoot with Redeye SAMs but fail. The Su-25 slams a payload into the M48 HQ sitting at the crest of the hill northwest of Rieden. An entire platoon of M48s is utterly destroyed and the HQ is reduced.
The Su-25 rolls to see if it will stick around for another pass but it is low on ammo and returns home.

Now the Mi-24 Hinds come into play. They set up behind a hill east of Rieden and conduct pop-up attacks on the remaining W. German tanks that so unwisely positioned themselves on a hill to the west.

They get caught in the crosshairs of the Mi-24 Hinds and are pulverized along with the shattered remnants of the 1/613, now just scrap metal on the hill west of Rieden. The remaining Marder retreats to support the infantry's push up north. What made this so hilariously awful for the West Germans is that they moved their Marders within range of the Hinds but forgot to pull their infantry units with the Redeye SAMs along for the ride. As a result, they were caught defenseless and out in the open.

The West Germans manage to get 2 full infantry platoons off the map before the other infantry are destroyed by the Soviet ambushes set up close to Anhauser. Actually, to be honest, the West German infantry platoon sacrificed itself to let the other 2 platoons move out of there. In moments of pure darkness, there still was a little light for the West Germans.
The remaining Marder just before it is about to be destroyed by Mi-24 Hinds that have moved behind the hill to the east. The West German commander has no choice but to surrender or die. He chooses the latter and the Marder is destroyed one turn later by a salvo of helicopter missiles.

Game Over: The West Germans should have tried to move faster and much earlier on in the game to get through that exit point. By trying to set up a flanking defense, they wasted valuable time. On Turn 3, the Soviet commander got the Su-25 air strike chit and the 57th AHR Hinds were suddenly available. The air pulverized the West Germans and I felt very sorry for them.
Also, moving my Marders out behind cover and into the range of Hind helos without SAM launchers was just dumb.
However, kudos to the Soviet commander, who placed his forces smartly and took advantage of terrain to set up some deadly ambushes for the West German commander.
Comments
Post a Comment